-40%
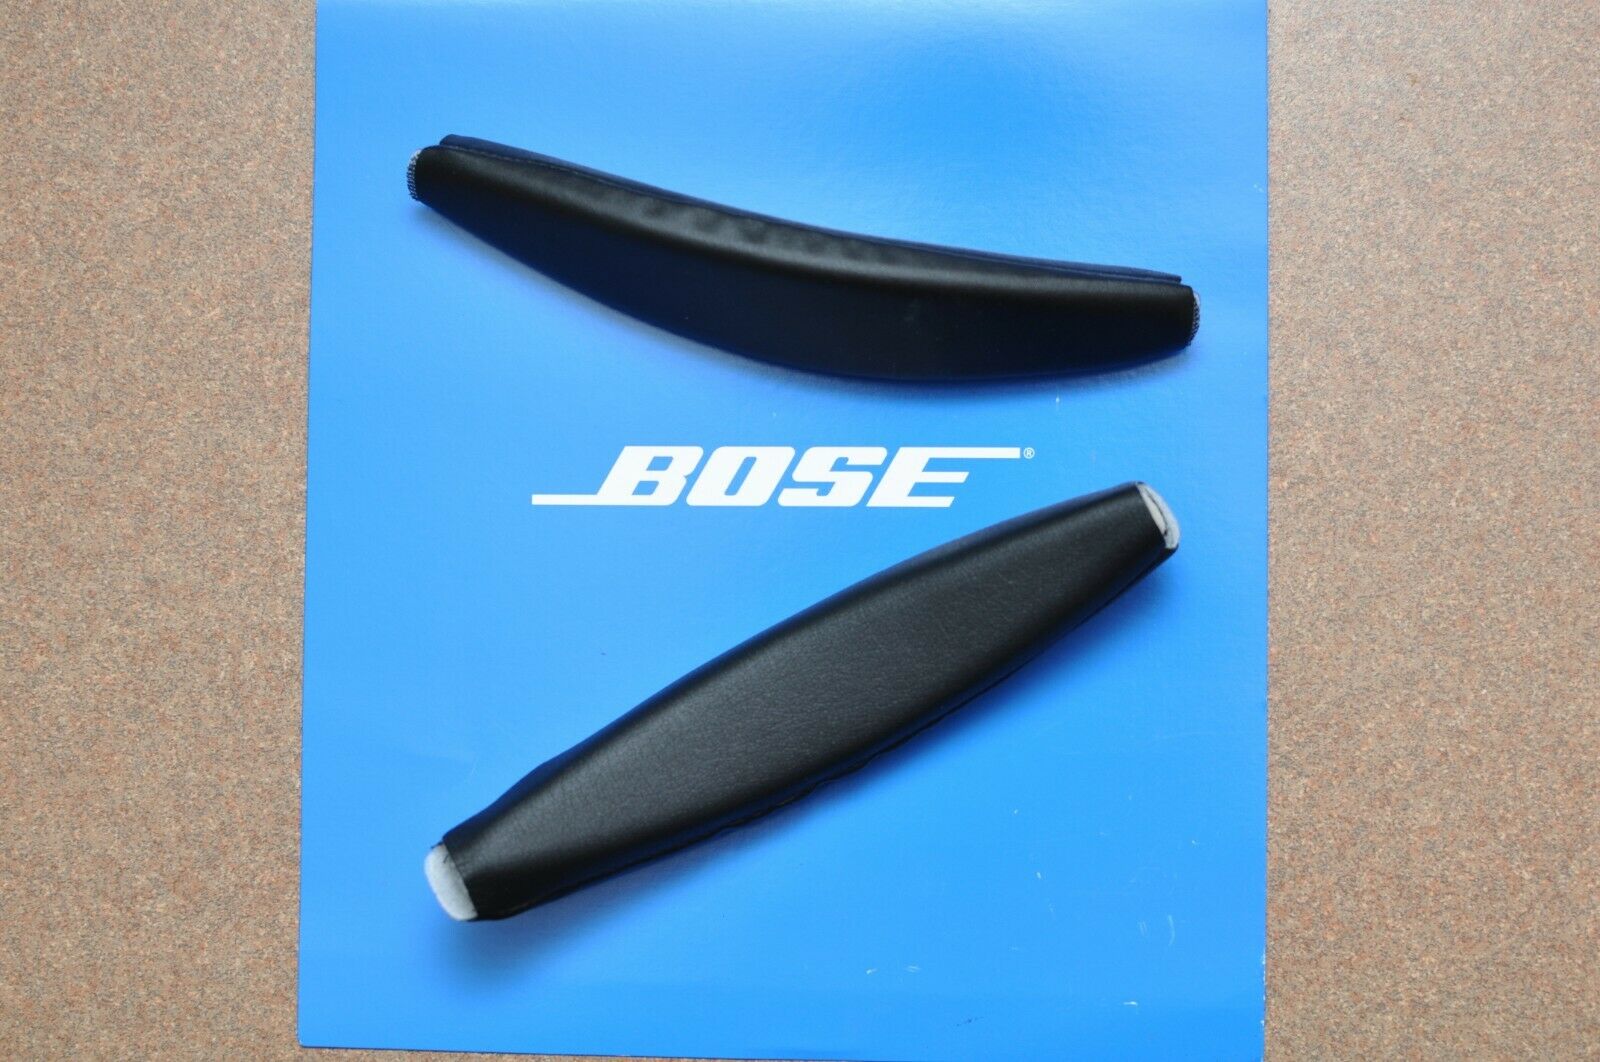
Bose QC2 and QC15 Headband Cushion Repair Part - Slider Version No Zipper-
$ 12.67
- Description
- Size Guide
Description
SOLDERING SKILLS NEEDEDOr we can install it for you
U.S. Seller ships from the U.S.
This Listing is for ONE slider headband.
I am the original seller of this item since 2015, others copy my pictures and instructions.
NO ZIPPER VERSION Faux Leather Replacement Headband for Bose QC2 QC15 headphones.
Please note, a soldering iron is needed. Also note that
you need to remove one of the cups and de-solder
the wires to get the headband through. Pay attention
to slide the steel rail between the white layers in the
new headband.
Once you slide the headband in place, you need to
put the sliding arm bezel, sliding arm, and route
the cable in the place to reach the speaker and
re-solder the inner wires.
Once the process done, your Bose headset will look like new.
Below are the instructions originally written by me:
Some simple soldering skills required. Below are brief instructions about the process:
1- Remove the cushions and lining on either sides (R or L does not matter)
2- Take out all four screws from the inside and pay attention to hold them securely not to get caught by the speaker magnet.
3- On the exposed PCB write down the wire locations and unsolder them gently.
4- Move the cup bracket to flat position and pry the ends to let the bracket separate form the ear cup.
5- Unscrew the bracket stem holder, slider section and take one side out. Pay attention to the small metal piece inside.
6- Unscrew the flat pinching ends from both sides of the old headband and move it out.
7- Slide in the new headband by making sure the metal arm gets in the middle of plastic layers.
8- Put all parts back in reverse order, tighten the pinching end parts.
9- Route the black cable in the parts including the earcup bracket.
10- Resolder the wires by looking at your notes and tuck them in nicely.
11- Put the screws back inside the earcup, stick the lining back in and clip the cushion.
Do not forget to pinch the ends with the flat plastic screwed clamps. So the band will stay in place snug like factory installation.
These replacement headbands are not made by Bose Corp. nor do they bear any trademarks owned by Bose Corp. Bose™, Triport ™, QuietComfort™, and QC™ and other known names are the trademarks of Bose Corp. in USA and other countries.
